
This article was co-authored by Lauren Kurtz. Lauren Kurtz is a Naturalist and Horticultural Specialist. Lauren has worked for Aurora, Colorado managing the Water-Wise Garden at Aurora Municipal Center for the Water Conservation Department. She earned a BA in Environmental and Sustainability Studies from Western Michigan University in 2014.
There are 12 references cited in this article, which can be found at the bottom of the page.
wikiHow marks an article as reader-approved once it receives enough positive feedback. In this case, 94% of readers who voted found the article helpful, earning it our reader-approved status.
This article has been viewed 49,860 times.
Growing plants from cuttings, also known as propagation, is a technique that gardeners use to grow new plants from older, healthy plants. It's great for increasing the number of plants that you have or taking your favorite plants from your garden with you when you move. To take cuttings for propagation, you'll need to select a stock plant, carefully take the cuttings, and properly plant the cuttings.
Steps
Part 1 of 3:Choosing a Plant
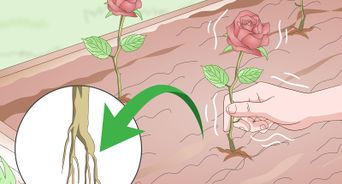
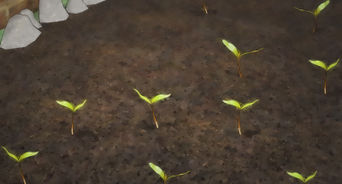
- 1Survey your garden for potential stock or “mother” plants. In the spring or early summer, start looking for plants that have plenty of new growth. You'll want to take cuttings from these plants because there will be a few different stems for you to pick from.[1]
- New growth is generally easier to propagate than older growth because it has more “growing” cells that are reproducing rapidly.
- 2Visit a nursery if you don't currently have a garden. If you're just starting your garden and don't have any stock plants, visit a local nursery and ask if you'd be able to take a few cuttings of larger plants. Most of the time they'll let you if you take a small amount.
- If you have friends, family, or neighbors growing the types of plants you want to propagate, you can always ask them for cuttings, too.
- Be very careful when transporting your cuttings. Place them in a plastic bag with a few drops of water or wrap the ends in a damp paper towel. Then put the bag in a box to prevent any bumping or crushing of the nodes.
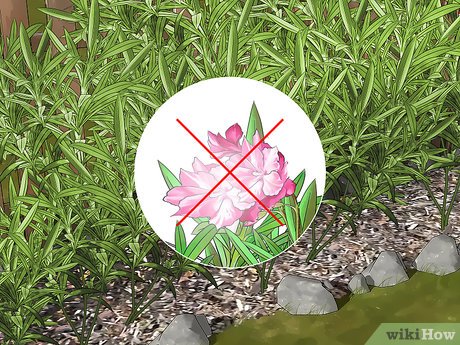
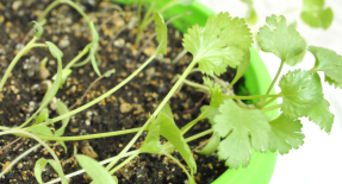
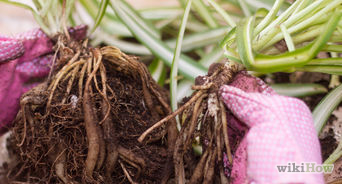
- 3Select a stock plant to cut from. The plant should be large and healthy, so that cutting off a small amount won't cause it to die. It should also be free from pests, and non-flowering during the time of year that you're taking your cuttings.[2]
- It's best to gather cuttings earlier in the morning when the plants are full of water. It will make it easier to cut and they'll be more likely to maintain their water when propagated.
Advertisement


Part 2 of 3:Propagating
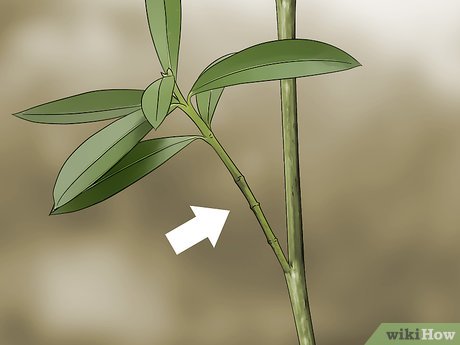
- 1Select a healthy stem with new growth. When selecting a stem, you should look for young, green growth, as they have a better chance for taking roots when planted. Select a piece of stem with a few leaves on it.[3]
- You want to be sure you're able to identify the nodes, which are places where a leaf meets the stem.
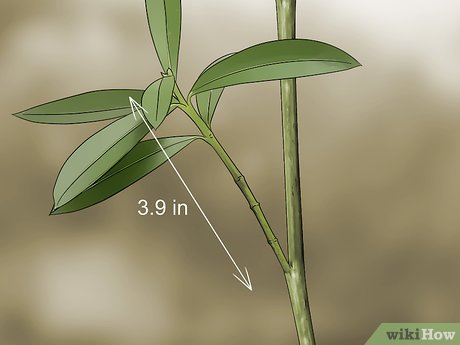
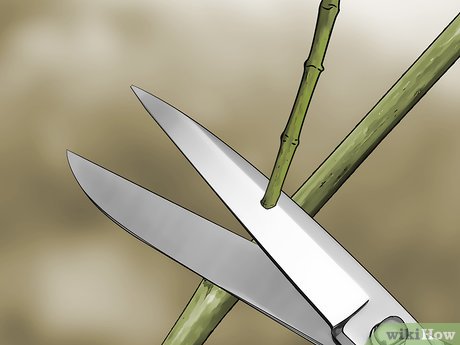
- 2Measure the stem out to 5 to 10 centimetres (2.0 to 3.9 in) long. You'll want to have enough length on the stem to plant it deeply within the soil so that it can form roots. It should have a few sets of leaves located along the stem.[4]
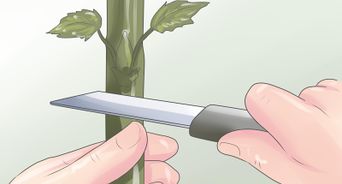
- 3Cut below a node with a sharp pair of sterilized scissors. Once you've measured the stem, cut just below a node. The node will look like a knob in the stem where it connects to the rest of the plant. Make sure the node is still on the cutting.[5]
- Avoid handling the cutting by its stem or node by gently holding onto one of the lower leaves.
- You can sterilize scissors by wiping them with rubbing alcohol. This is to prevent contamination of the cells located at the node.
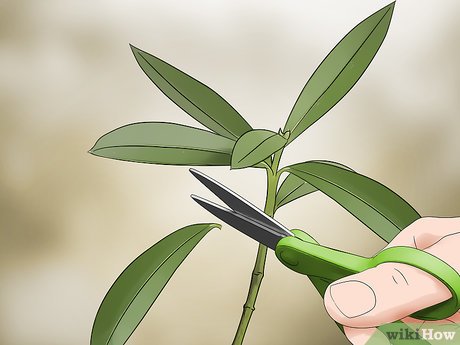
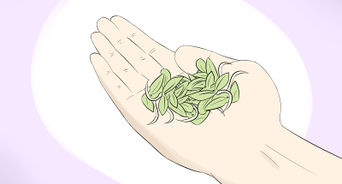
- 4Remove the lower leaves of the plant, leaving 1 or 2 pairs at the top. While the new plant needs leaves to provide energy through photosynthesis, too many leaves will compete with the plant's efforts to send out new roots. Lower leaves will touch the soil and likely cause the cutting to rot, so they can be removed.[6]
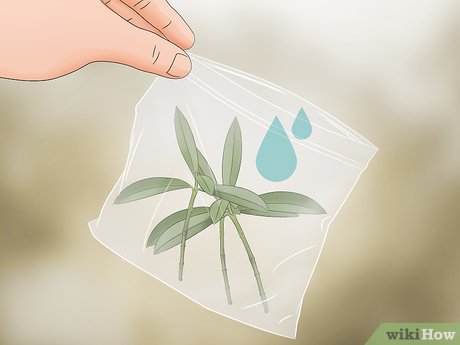
- 5Gather your cuttings in a plastic bag containing a few drops of water. By doing so, you can prevent them from wilting while you work. This is especially important for cuttings taken outside, because the sun can cause them to lose water quickly when removed from their plant.[7]Advertisement


Part 3 of 3:Caring for the Cuttings
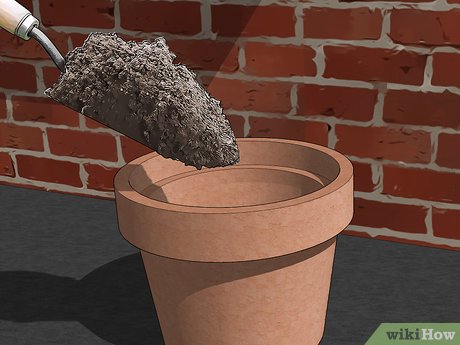
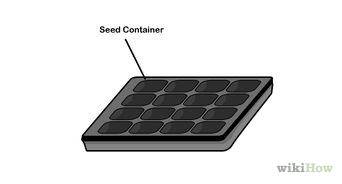
- 1Fill a drainable container with potting soil. Potting mix, which is often a mixture of peat moss, perlite, and vermiculite, will generally yield better results for potted plants because of its superior drainage. If your container doesn't have drainage holes, you can drill 3-4 of them into the bottom of the container.[8]
- You can also find soil specifically for cuttings at most home improvement stores.
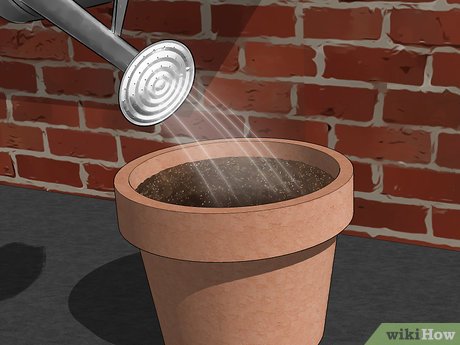
- 2Water the soil in the container before you plant the cuttings. This is to make sure the cuttings have water available immediately once they are in their container. Water until the soil is moist, but not soaked.
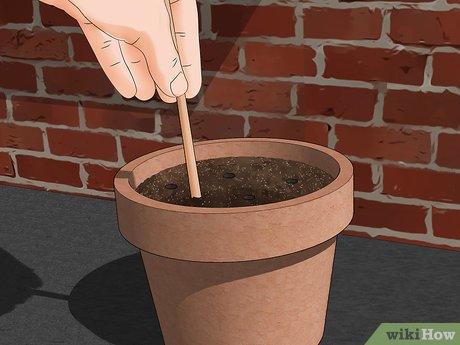
- 3Use a pencil or a chopstick to make holes in the soil. Creating a hole before you insert your cutting ensures your cutting won't be bent or snapped when it's inserted into the soil.[9]
- You can also use a knitting needle or your own finger if you don't have a pencil or a chopstick.
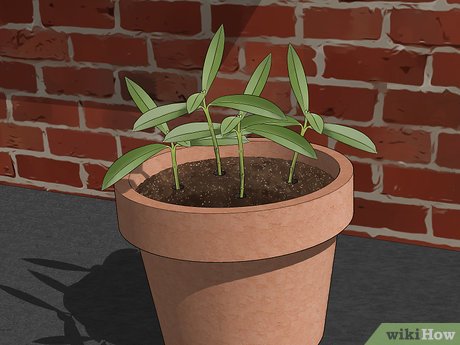
- 4Insert cuttings into their individual holes. Ensure that the leaves are not buried, and that the plant is stable enough to stand upright. It's best to plant just below a leaf break, where two leaves shoot off in opposite directions.[10]
- You can plant several cuttings in a single container, but be careful not to overcrowd the pot. For a medium-sized container about 8 inches (20 cm) across, 5-6 cuttings will fill the pot with enough room to grow.
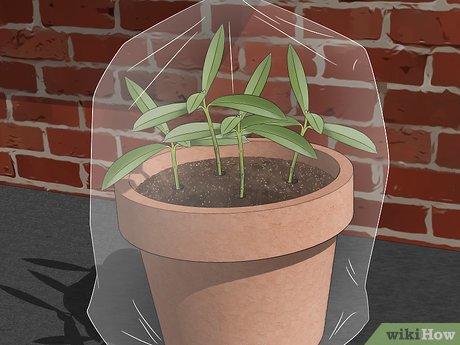
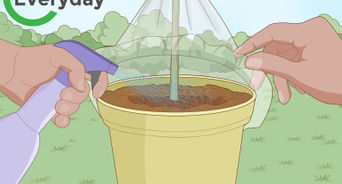
- 5Cover the container with a plastic bag to seal in moisture. Place the pot with your cuttings into a large, clear plastic bag, secure the bag with a rubber band. Place the pot away from the window in an area that gets plenty of sunlight, so that moisture becomes trapped in the bag for the plants to use for photosynthesis.[11]
- Be sure to cut small holes or leave part of the bag outside of the rubber band to allow air to flow.
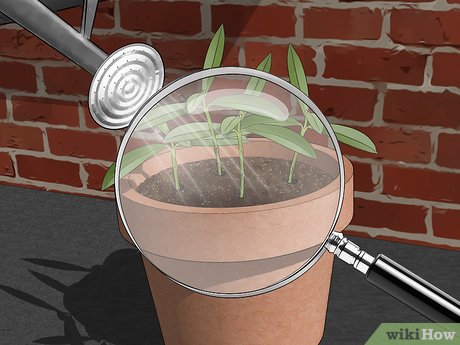
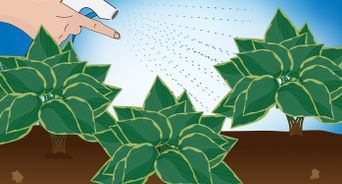
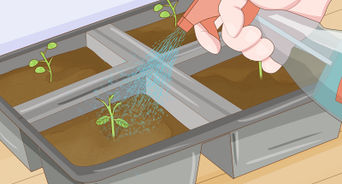
- 6Water and monitor your cuttings. Make sure the soil in the container is moist, but not soaked, at all times. Don't let the soil dry out. Regularly check the bottom of the container for any roots.
- If any of them begin to look unhealthy, remove them from the container.
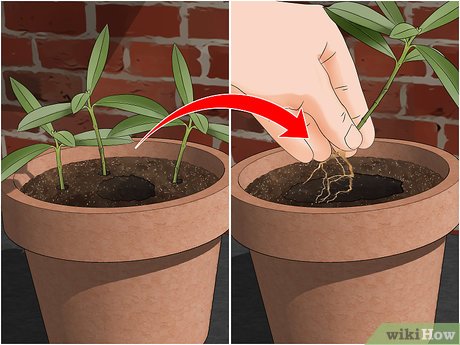
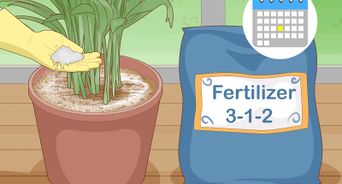
- 7Transplant cuttings to individual containers when roots become visible. Check the drainage holes at the bottom of the container for visible roots once per week. Once the cuttings are growing rapidly or roots appear at the bottom of the container, you can dig up and transplant each cutting to separate containers.[12]
- When transplanting, be gentle when lifting the plant from the container, preserving as many roots as possible. Add more potting soil to the new container and place it in a sunny area. Transplant again when the roots fill the pot.
Advertisement


Community Q&A
- QuestionDo I need to root my cuttings from the neighbor's grapevine tree before planting?Community AnswerShort answer, no, long answer, maybe. If you plant your cutting in the ground or in a container it will put out roots before it will start growing, so if you root it in a cup of water you will be able to see the progress of the roots, which can make it seem to be growing faster than if it was in the ground. But what i would recommend is that you buy some rooting powder (you can get it at most hardware stores or garden stores) and dip your cutting in that, then plant it where you want it. It will seem slow at first, but once it has a good root system it will grow like normal. It will take about three years before you get a decent cluster of grapes.
- QuestionHow to take cuttings from an olyanderSamantha L. CampbellCommunity AnswerFor an oleander, you can take cuttings from new or old growth. Locate a node, cut the stem straight across, and remove excess leaves. Oleander cuttings can form roots in a bottle of water or in soil. In the water bottle, you will be able to see the roots forming. In soil, you can be sure of rooting when you see new growth at the top of the cutting. Oleanders won't need to be bagged because they maintain water well without excess humidity.
- QuestionCan you take cuttings from cut freesiasSamantha L. CampbellCommunity AnswerFreesias propagate best with seeds, so taking cuttings will likely not result in any viable plants. You can harvest seeds from flowering freesia plants. It takes about 7-8 months to grow a freesia from a seed, which is significantly longer than cuttings.
- QuestionHow to take cuttings from violasSamantha L. CampbellCommunity AnswerYou can take cuttings from violas any time after July. You should take cuttings of violas from close to the root, just under a node. Locate a stem near the center of the plant that is growing close to the ground, and cut straight across to avoid damaging the node.
- QuestionPrecautions to be taken when doing stem cuttingSamantha L. CampbellCommunity AnswerAlways handle sharp objects and scissors with care. Wear gloves if necessary, as many plants can have an irritating effect on human skin. Handle your cuttings carefully, avoiding the node. Carry them by the lower leaves which will eventually be removed for propagation.
Tips
- Always be gentle with your cuttings and avoid touching the node, as this can damage the stem.Thanks!
- Hydrangeas, lavender, and forsythia are all great plants for taking cuttings from, as their cuttings tend to take roots quickly and grow well.Thanks!
Things You'll Need
- Healthy stock plant
- Container
- Potting soil or mix
- Water
- Scissors
- Plastic bag
- Rubber Band
Recipe Ratings and Stories


References
- ↑ http://www.gardenersworld.com/how-to/grow-plants/how-to-take-rose-cuttings/
- ↑ http://www.bbc.co.uk/gardening/basics/techniques/propagation_summercuttings1.shtml
- ↑ http://www.theenglishgarden.co.uk/choice/how-to-take-cuttings-in-6-easy-steps/
- ↑ http://www.bbc.co.uk/gardening/basics/techniques/propagation_summercuttings1.shtml
- ↑ http://www.homelife.com.au/gardening/how-to-grow/how-to-grow-a-cutting
- ↑ http://www.homelife.com.au/gardening/how-to-grow/how-to-grow-a-cutting
- ↑ http://www.bbc.co.uk/gardening/basics/techniques/propagation_summercuttings1.shtml
- ↑ http://www.theenglishgarden.co.uk/choice/how-to-take-cuttings-in-6-easy-steps/
- ↑ http://www.homelife.com.au/gardening/how-to-grow/how-to-grow-a-cutting
About This Article
To take cuttings, start by choosing your best and healthiest plants to take cuttings from, since the cuttings will be clones of those plants. Select healthy stems with young, green growth, measure about 5-10 cm of stem for each cutting, and snip just below the nodes with sterilized scissors. Remove the lower leaves of each cutting, leaving 1 or 2 pairs of leaves near the top, then put the cuttings in a plastic bag with a few drops of water so the stems won't wilt while you work! For tips on planting your cuttings, read on!
Reader Success Stories
- RB"Very helpful on how and when to take plant cuttings. I learned a lot, now going to try some plant cuttings. Thanks."
- HS"Good guide. The pictures are very helpful. Thanks."


